Branch-Based Deployments with Private Staging on Cloudflare
How I use Cloudflare Pages for deployments and Cloudflare Access to protect my staging environment with email OTP authentication.
Deploying to production is easy. The hard part is having a staging environment that mirrors production but stays private. Here's how I set up my blog with Cloudflare Pages and protect staging with Cloudflare Access.
The problem
Production lives at eduuh.com — public, indexed by search engines. Staging lives at staging.eduuh.com, private, for poking at changes before they go live.
Cloudflare Pages handles the deployment, but both environments are public by default. I needed staging behind authentication without wiring anything into the app itself.
The stack
Cloudflare Pages handles static site hosting and deployments. Cloudflare Access sits in front of staging as a Zero Trust auth layer. GitHub Actions runs the build. Email OTP keeps it password-free.
The deployment flow
The thing to notice: Cloudflare Access intercepts requests to staging.eduuh.com before they reach the site. No code changes. Authentication happens at the edge.
GitHub Actions workflow
The deployment workflow pushes to different branches based on the environment:
name: Deploy to Cloudflare Pages

on:
  push:
    branches:
      - main
      - staging
  workflow_dispatch:
    inputs:
      environment:
        description: 'Environment to deploy to'
        required: true
        default: 'staging'
        type: choice
        options:
          - staging
          - production

jobs:
  deploy:
    runs-on: ubuntu-latest
    steps:
      - uses: actions/checkout@v4

      - name: Setup Node.js
        uses: actions/setup-node@v4
        with:
          node-version: '20'
          cache: 'npm'

      - run: npm ci
      - run: npm run build

      - name: Set environment
        id: env
        run: |
          if [[ "${{ github.ref }}" == "refs/heads/main" ]]; then
            echo "branch=main" >> $GITHUB_OUTPUT
          else
            echo "branch=staging" >> $GITHUB_OUTPUT
          fi

      - name: Deploy to Cloudflare Pages
        uses: cloudflare/wrangler-action@v3
        with:
          apiToken: ${{ secrets.CLOUDFLARE_API_TOKEN }}
          accountId: ${{ secrets.CLOUDFLARE_ACCOUNT_ID }}
          command: pages deploy out --project-name=${{ vars.CLOUDFLARE_PROJECT_NAME }} --branch=${{ steps.env.outputs.branch }}
Cloudflare Pages automatically maps:
mainbranch → production (eduuh.com)stagingbranch → staging (staging.eduuh.com)
Setting up Cloudflare Access
Cloudflare Access sits in front of the staging domain and requires auth before anyone can view the site. All at the edge.
1. Create an Access application
In the Cloudflare Zero Trust dashboard, go to Access → Applications, create a Self-hosted application, and set the domain to staging.eduuh.com.
2. Configure identity provider
For simplicity, I use one-time PIN (email OTP). Go to Settings → Authentication and add One-time PIN as a login method. No external OAuth setup required.
3. Create an Access policy
The policy controls who can authenticate:
{
  "name": "Allow email login",
  "decision": "allow",
  "include": [
    {
      "email_domain": {
        "domain": "gmail.com"
      }
    }
  ]
}
This allows anyone with a Gmail address to request access. You can restrict it further:
{
  "include": [
    {
      "email": {
        "email": "[email protected]"
      }
    }
  ]
}
Automating Access configuration
The dashboard works, but I'd rather script it. Here's the API version:
# Set your credentials
CF_TOKEN="your-api-token"
CF_ACCOUNT="your-account-id"
APP_ID="your-app-id"

# Create access policy
curl -X POST "https://api.cloudflare.com/client/v4/accounts/$CF_ACCOUNT/access/apps/$APP_ID/policies" \
  -H "Authorization: Bearer $CF_TOKEN" \
  -H "Content-Type: application/json" \
  --data '{
    "name": "Allow email login",
    "decision": "allow",
    "include": [{"email_domain": {"domain": "gmail.com"}}],
    "precedence": 1
  }'

# Link OTP identity provider
curl -X PUT "https://api.cloudflare.com/client/v4/accounts/$CF_ACCOUNT/access/apps/$APP_ID" \
  -H "Authorization: Bearer $CF_TOKEN" \
  -H "Content-Type: application/json" \
  --data '{
    "name": "Blog Staging",
    "domain": "staging.eduuh.com",
    "type": "self_hosted",
    "allowed_idps": ["your-otp-provider-id"],
    "auto_redirect_to_identity": true
  }'
DNS configuration
By default, Pages custom domains point at the production branch. To make staging.eduuh.com serve the staging branch, update the DNS CNAME:
# Update DNS to point to staging branch alias
curl -X PATCH "https://api.cloudflare.com/client/v4/zones/$ZONE_ID/dns_records/$RECORD_ID" \
  -H "Authorization: Bearer $CF_TOKEN" \
  -H "Content-Type: application/json" \
  --data '{"content":"staging.blog-2026-290.pages.dev"}'
The branch alias (staging.your-project.pages.dev) tracks the latest deployment on that branch.
Protecting all preview URLs
Pages generates a unique URL for each deployment (9fad24de.blog-2026-290.pages.dev, that kind of thing). To gate all of them, create a wildcard Access application:
# Create wildcard Access app
curl -X POST "https://api.cloudflare.com/client/v4/accounts/$CF_ACCOUNT/access/apps" \
  -H "Authorization: Bearer $CF_TOKEN" \
  -H "Content-Type: application/json" \
  --data '{
    "name": "Blog All Previews",
    "domain": "*.blog-2026-290.pages.dev",
    "type": "self_hosted",
    "session_duration": "24h",
    "allowed_idps": ["your-otp-provider-id"],
    "auto_redirect_to_identity": true
  }'
This protects:
staging.blog-2026-290.pages.dev(branch alias)9fad24de.blog-2026-290.pages.dev(specific deployments)- Any future preview URLs
The flow
- Push to
main→ deploys to production (public) - Push to
staging→ deploys to staging (protected) - Visit
staging.eduuh.com→ Cloudflare Access intercepts - Enter email → OTP code lands in your inbox
- Enter code → access granted for 24 hours
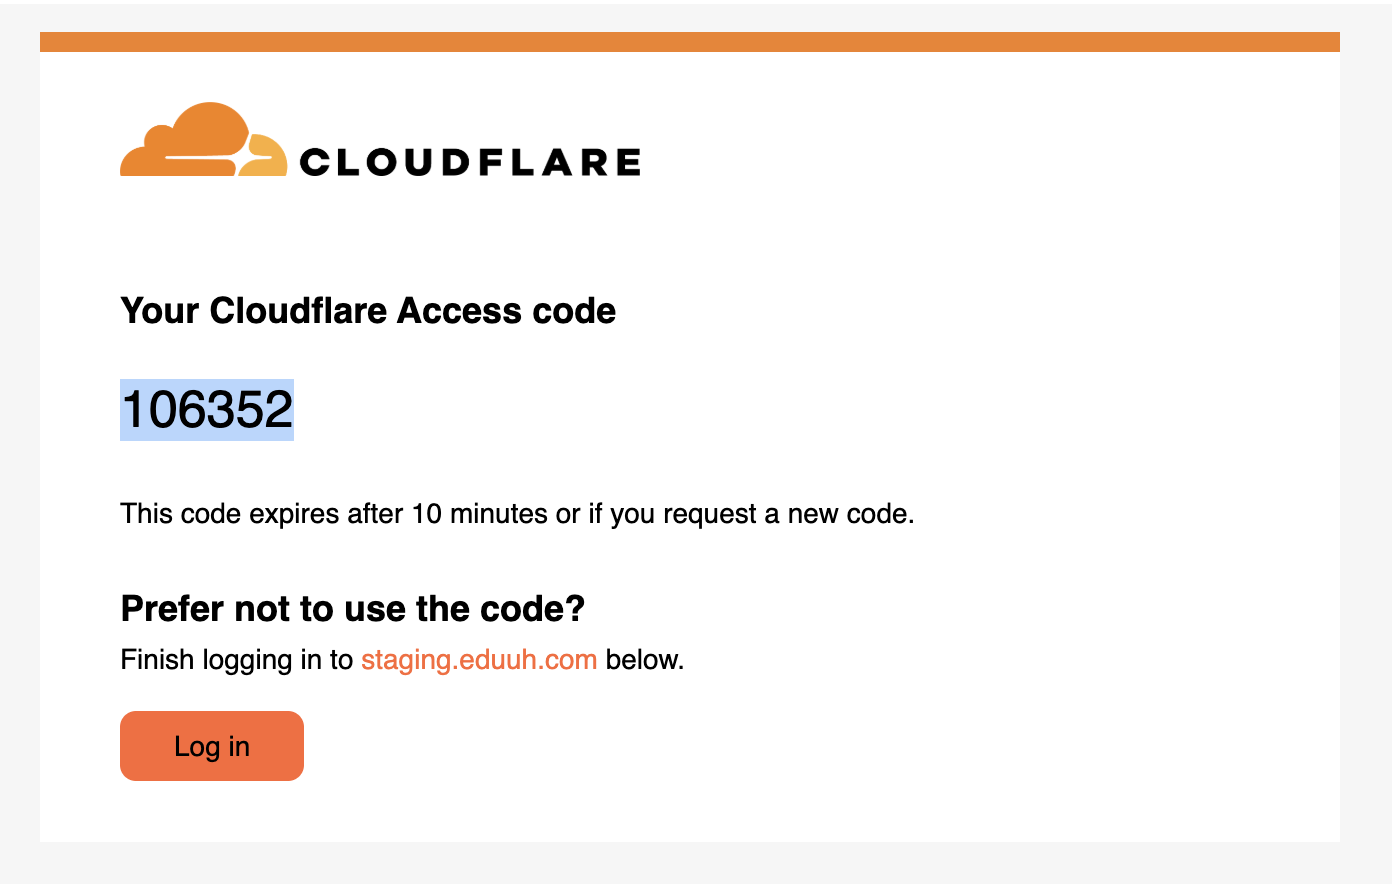
Here's what the auth page looks like:

After entering your email, you receive an OTP code:
API token permissions
The GitHub Actions deployment token only needs Cloudflare Pages: Edit.
For managing Access and DNS via API you need three more: Access: Apps and Policies (Edit), Access: Organizations, Identity Providers, and Groups (Edit), and Zone: DNS (Edit) for the CNAME updates.
Or use the "Edit Cloudflare Zero Trust" template and add DNS permissions on top.
Gotchas
Empty policies block everyone, silently. If your Access app has no policies, the login page still appears but authentication fails with no obvious clue why. Always create at least one allow policy.
The identity provider has to be linked on the app, not just configured globally — add it to allowed_idps or OTP won't work even when it looks set up. Token permissions are granular too: a Pages deployment token can't manage Access, so separate tokens per purpose. And custom domains default to production. Adding a custom domain via the Pages API doesn't automatically point it to a specific branch; update the DNS CNAME to the branch alias.
Cost
The whole setup is free:
- Cloudflare Pages, free tier covers most sites
- Cloudflare Access, free for up to 50 users
- GitHub Actions, free for public repos
What's next
A few things I want to add: service tokens for CI to hit staging without email auth, bypass rules for health check endpoints, and Terraform for the Access config as code.
The final shape:
| URL | Branch | Protected |
|---|---|---|
eduuh.com | main | Public |
staging.eduuh.com | staging | Access (email OTP) |
*.blog-2026-290.pages.dev | all previews | Access (wildcard) |
Pages plus Access. No infra to run, no app code to touch. That's the appeal.
Last updated on January 28th, 2026(v1.1)